Spring is here, and it's the perfect time to update your nail game. With warmer weather and brighter colors all around, it's only natural to want to add a pop of color to your nails as well. But getting a professional manicure every time can be expensive, and sometimes you just want to switch things up at home. Fear not, we've rounded up some easy and stylish spring nail designs that you can create in the comfort of your own home.
*This post contains affiliate links.
1. Floral Nails
Floral nails are the ultimate springtime classic. You don't need to be a professional to create a beautiful floral design. Start with a base coat, then use a small nail brush to draw on flowers with different colors. You can use white, pink, yellow, or any other color you prefer. To make your flowers stand out, you can add a glitter topcoat.
2. Pastel Ombre Nails
Pastel colors are the epitome of spring, and ombre nails are the perfect way to blend them. Start with a base coat, then paint each nail with a different pastel nail polish color. Once the base coat is dry, blend the colors with a makeup sponge. You can also add a glitter topcoat to add a little sparkle to your nails.
3. Polka Dot Nails
Polka dots are a simple yet stylish way to add some fun to your nails. Start with a base coat, then use a toothpick or dotting tool to create polka dots with different colors. You can also mix and match different sizes of dots for a playful effect.
4. Rainbow Striped Nails
Rainbows are always a good idea, especially in the spring. To create this design, start with a base coat, then paint stripes of different colors on each nail. You can use tape to create straight lines or freehand it for a more organic look. Finish with a topcoat to seal in your design.
5. Geometric Nails
Geometric designs are modern and chic. To create this look, start with a base coat, then use tape to create different shapes and lines. Paint each section with a different color, then remove the tape once the polish is dry. You can also add a metallic or glitter topcoat for a little extra pizzazz.
6. Fruit Nails
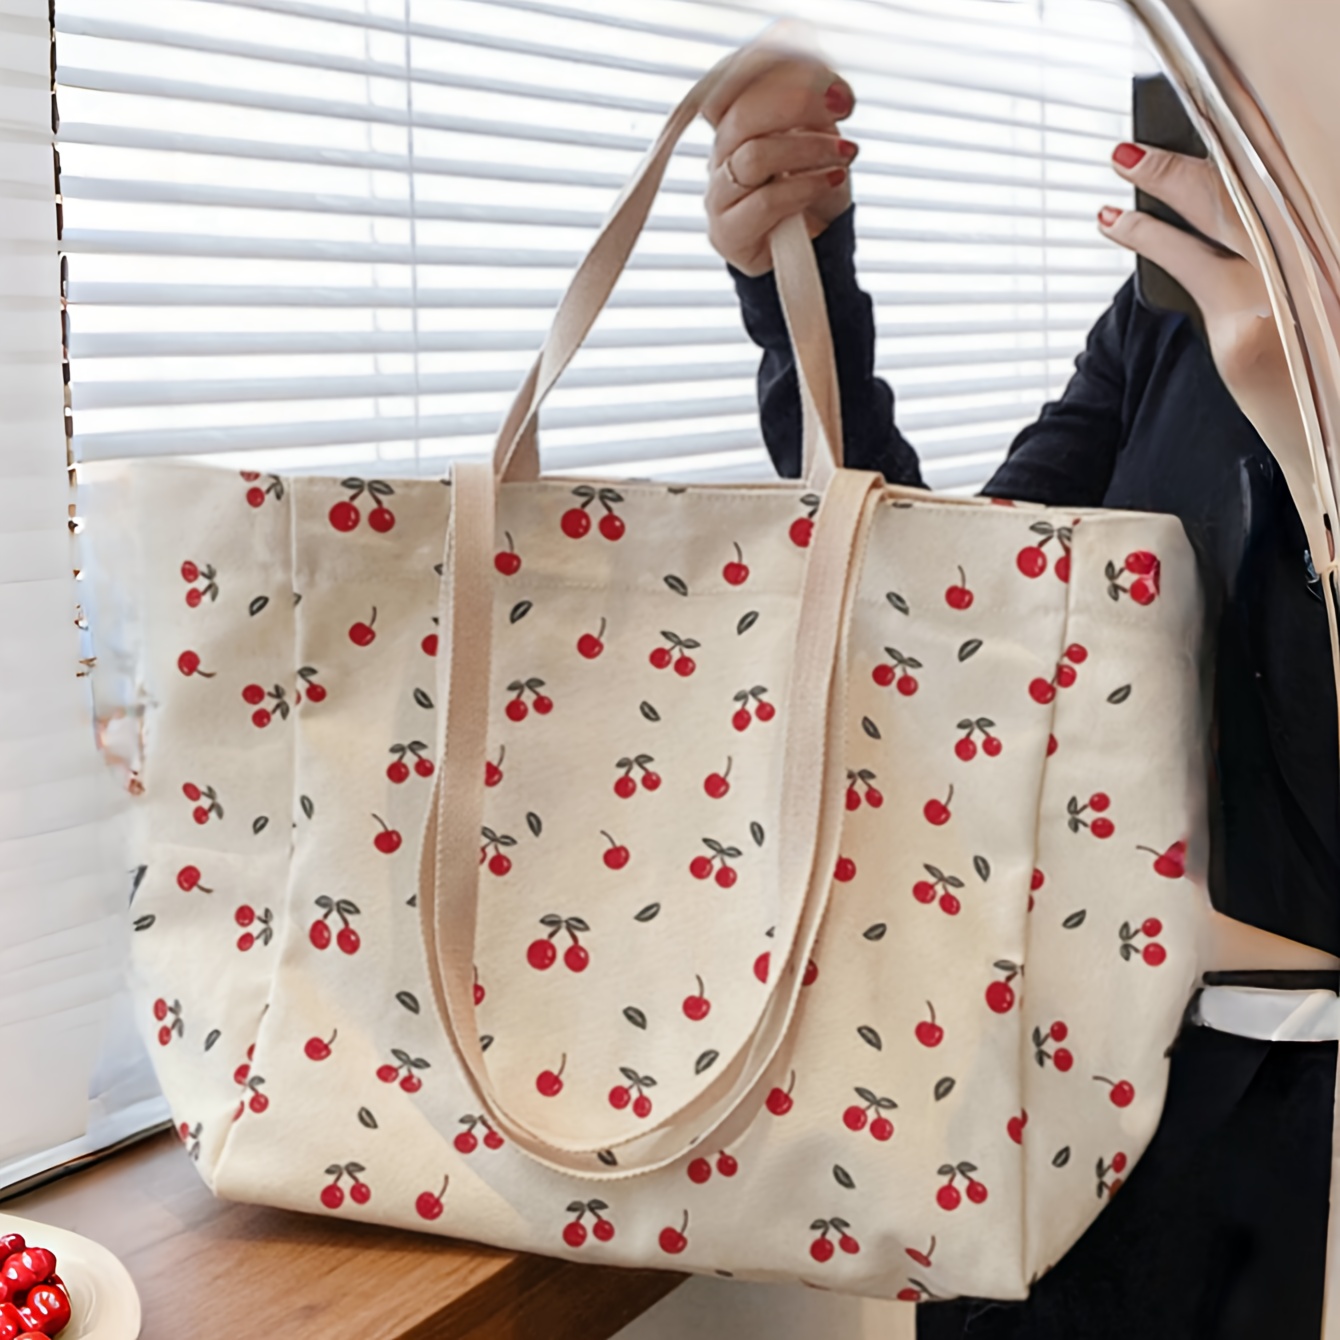
Fruit nails are a fun and playful way to celebrate spring. Start with a base coat, then paint each nail a different color. Once the base coat is dry, use a small brush to draw on fruit designs like pineapples, watermelons, cherry, or strawberries. You can also add a glitter topcoat for a little extra sparkle.
7. Nautical Nails
Nautical nails are perfect for the beach or any water-themed occasion. Start with a base coat, then paint each nail with a different blue shade. Once the base coat is dry, use a small brush to draw on nautical designs like anchors, sailboats, or waves. You can also add a glitter topcoat for a little extra shimmer.
8. Gradient Glitter Nails
This design is all about adding some sparkle to your nails. Start with a base coat, then apply a glitter polish to the tips of your nails. Then, use a makeup sponge to blend the glitter downwards, creating a gradient effect. You can also add some rhinestones or other embellishments to make your nails stand out even more.
9. Abstract Art Nails
If you're feeling particularly artsy, try creating an abstract design on your nails. Start with a base coat, then use a small brush to create different shapes and lines with different colors. There are no rules here, just let your creativity guide you. Once you're happy with your design, seal it in with a top coat. The end result will be a unique and eye-catching nail look that's perfect for spring.
With these simple spring nail designs, you can get creative and switch up your nail game in no time. Whether you're looking for a classic floral design or something more modern like geometric or stripes, there's a design out there that's perfect for you. With a little practice, you'll be creating salon-worthy nails from the comfort of your own home.


Post a Comment